- Introducing ember-cli
- Creating Your First Ember.js App
- Overall Page Structure (Including Third-Party Content)
- Creating a New Route
- Creating Modular Components
- Managing Data Between Client and Server
- Passing Control from Components to Routes
- Persisting to the Store
- Loading from the Store
- Summary
- Frequently Asked Questions (FAQs) about Ember.js
Ember.js is an opinionated frontend JavaScript framework that has been getting a lot of interest lately. This article will introduce some key concepts of the framework while building a simple application with it, in order to show a basic example of what it is capable of producing.
Our example application is going to be a Dice Roller, including the ability to roll some dice and view a history of all dice rolls that have been performed to date. A fully working version of this application is available from Github
The Ember.js framework pulls together a lot of modern JavaScript concepts and technologies into one single bundle, including but not limited to:
- The use of the Babel transpiler tool, to support ES2016 throughout.
- Testing support at the Unit, Integration and Acceptance levels as standard, powered by Testem and QTest.
- Asset building using Broccoli.js.
- Support for live reloading, for shorter development cycle times.
- Templating using the Handlebars markup syntax.
- URL Routing first development to ensure that deep linking is fully supported throughout.
- Full data layer built around JSON API, but pluggable for whatever API access you need.
In order to work with Ember.js, it is assumed that you have an up-to-date installation of Node.js and npm. If not then these can be downloaded and installed from the Node.js website.
It should also be mentioned that Ember is purely a frontend framework. It has a number of ways of interacting with the backend of your choice, but this backend is not in any way handled by Ember itself.
Introducing ember-cli
A lot of the power of Ember.js comes from its command line interface (CLI). This tool – known as ember-cli – powers much of the development lifecycle of an Ember.js application, starting from creating the application, through adding functionality into it all the way to running the test suites and starting the actual project in development mode.
Almost everything that you do whilst developing an Ember.js application will involve this tool at some level, so it is important to understand how best to use it. We will be making use of it throughout this article.
The first thing we need to do is ensure that the Ember.js CLI is correctly installed and up-to-date. This is done by installing from npm, as follows:
$ npm install -g ember-cli
and we can check it was successfully installed by running the following command:
$ ember --version
ember-cli: 2.15.0-beta.1
node: 8.2.1
os: darwin x64
Creating Your First Ember.js App
Once ember-cli is installed, you are ready to start creating your application. This is the first place we will be making use of the Ember.js CLI tool – it creates the entire application structure, setting everything up ready to run.
$ ember new dice-roller
installing app
  create .editorconfig
  create .ember-cli
  create .eslintrc.js
  create .travis.yml
  create .watchmanconfig
  create README.md
  create app/app.js
  create app/components/.gitkeep
  create app/controllers/.gitkeep
  create app/helpers/.gitkeep
  create app/index.html
  create app/models/.gitkeep
  create app/resolver.js
  create app/router.js
  create app/routes/.gitkeep
  create app/styles/app.css
  create app/templates/application.hbs
  create app/templates/components/.gitkeep
  create config/environment.js
  create config/targets.js
  create ember-cli-build.js
  create .gitignore
  create package.json
  create public/crossdomain.xml
  create public/robots.txt
  create testem.js
  create tests/.eslintrc.js
  create tests/helpers/destroy-app.js
  create tests/helpers/module-for-acceptance.js
  create tests/helpers/resolver.js
  create tests/helpers/start-app.js
  create tests/index.html
  create tests/integration/.gitkeep
  create tests/test-helper.js
  create tests/unit/.gitkeep
  create vendor/.gitkeep
NPM: Installed dependencies
Successfully initialized git.

$
This has caused an entire application to be created which is ready to run. It has even set up Git as source control to track your work.
Note: If you wish, you can disable the Git integration and you can prefer Yarn over npm. The help for the tool describes this and much more.
Now, let’s see what it looks like. Starting the Ember application for development purposes is – once again – also done using ember-cli:
$ cd dice-roller
$ ember serve
Livereload server on http://localhost:49153
'instrument' is imported from external module 'ember-data/-debug' but never used
Warning: ignoring input sourcemap for vendor/ember/ember.debug.js because ENOENT: no such file or directory, open '/Users/coxg/source/me/writing/repos/dice-roller/tmp/source_map_concat-input_base_path-2fXNPqjl.tmp/vendor/ember/ember.debug.map'
Warning: ignoring input sourcemap for vendor/ember/ember-testing.js because ENOENT: no such file or directory, open '/Users/coxg/source/me/writing/repos/dice-roller/tmp/source_map_concat-input_base_path-Xwpjztar.tmp/vendor/ember/ember-testing.map'

Build successful (5835ms) – Serving on http://localhost:4200/


Slowest Nodes (totalTime => 5% )              | Total (avg)
----------------------------------------------+---------------------
Babel (16)                                    | 4625ms (289 ms)
Rollup (1)                                    | 445ms
We are now ready to go. The application is running on http://localhost:4200, and looks like this:
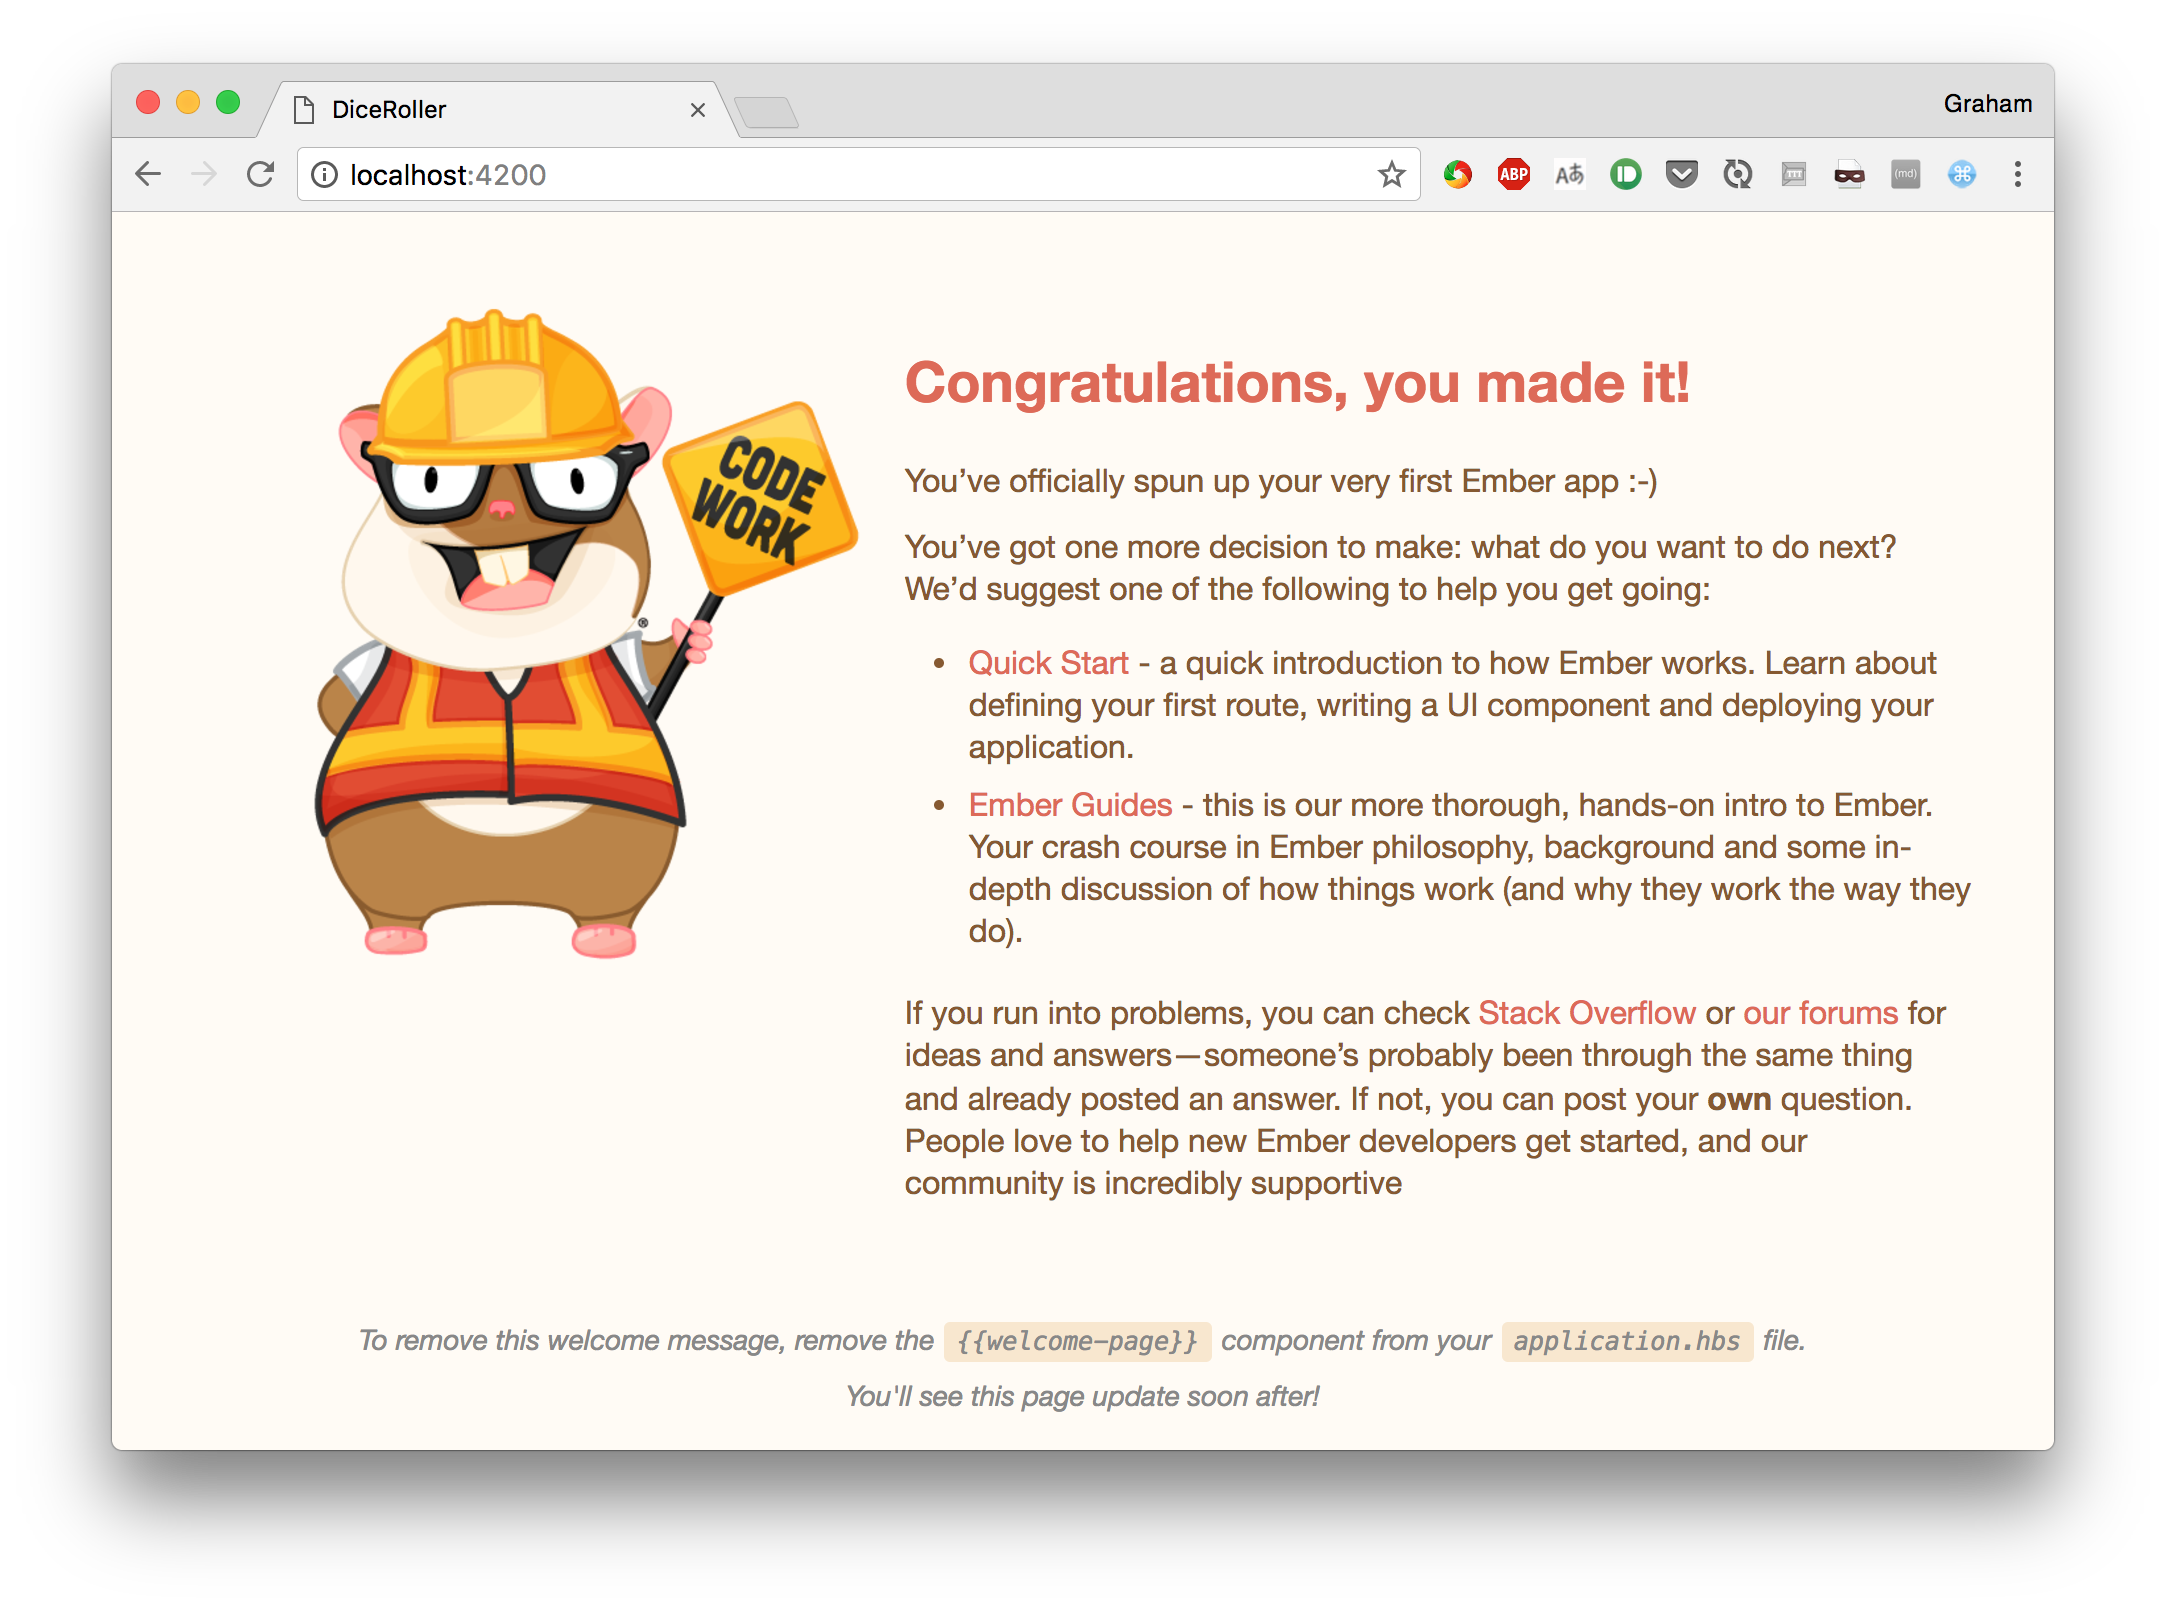
It is also running a LiveReload service which automatically watches for changes to the filesystem. This means that you can have an incredibly fast turnaround time when tweaking your site design.
Let’s try it?
The initial page already tells us what to do, so let’s go and change the main page and see what happens. We’re going to change the app/templates/application.hbs file to look like the following.
This is my new application.
Note: The
{{outlet}}tag is part of how Routing works in Ember. We will cover that later on.
The first thing to notice is the output from ember-cli, which should look as follows:
file changed templates/application.hbs

Build successful (67ms) – Serving on http://localhost:4200/

Slowest Nodes (totalTime => 5% )              | Total (avg)
----------------------------------------------+---------------------
SourceMapConcat: Concat: App (1)              | 9ms
SourceMapConcat: Concat: Vendor /asset... (1) | 8ms
SimpleConcatConcat: Concat: Vendor Sty... (1) | 4ms
Funnel (7)                                    | 4ms (0 ms)
This tells us that it has spotted that we changed the template and rebuilt and restarted everything. We’ve had zero involvement in that part of it.
Now let’s look at the browser. If you’ve got LiveReload installed and running you will not even have needed to refresh the browser for this to be picked up, otherwise, you will need to reload the current page.
Not very exciting, but this is with almost no effort on our part that we’ve achieved this.
In addition, we get a fully set up test suite ready to run. This is – unsurprisingly – run using the Ember tool as well, as follows:
$ ember test
⠸ Building'instrument' is imported from external module 'ember-data/-debug' but never used
⠴ BuildingWarning: ignoring input sourcemap for vendor/ember/ember.debug.js because ENOENT: no such file or directory, open '/Users/coxg/source/me/writing/repos/dice-roller/tmp/source_map_concat-input_base_path-S8aQFGaz.tmp/vendor/ember/ember.debug.map'
⠇ BuildingWarning: ignoring input sourcemap for vendor/ember/ember-testing.js because ENOENT: no such file or directory, open '/Users/coxg/source/me/writing/repos/dice-roller/tmp/source_map_concat-input_base_path-wO8OLEE2.tmp/vendor/ember/ember-testing.map'
cleaning up...
Built project successfully. Stored in "/Users/coxg/source/me/writing/repos/dice-roller/tmp/class-tests_dist-PUnMT5zL.tmp".
ok 1 PhantomJS 2.1 - ESLint | app: app.js
ok 2 PhantomJS 2.1 - ESLint | app: resolver.js
ok 3 PhantomJS 2.1 - ESLint | app: router.js
ok 4 PhantomJS 2.1 - ESLint | tests: helpers/destroy-app.js
ok 5 PhantomJS 2.1 - ESLint | tests: helpers/module-for-acceptance.js
ok 6 PhantomJS 2.1 - ESLint | tests: helpers/resolver.js
ok 7 PhantomJS 2.1 - ESLint | tests: helpers/start-app.js
ok 8 PhantomJS 2.1 - ESLint | tests: test-helper.js

1..8
# tests 8
# pass  8
# skip  0
# fail  0

# ok
Note that the output talks about PhantomJS. This is because there is full support for Integration tests that run in a browser, and by default, these run headless in the PhantomJS browser. There is full support for running them in other browsers if you wish, and when setting up continuous integration (CI) it is worth doing this to ensure that your application works correctly in all supported browsers.
How an Ember.js app is structured
Before we get to actually writing our application, let’s explore how it is structured on the filesystem. The ember new command above will have created a whole directory structure on your computer, with lots of different parts. Understanding all of these is important to efficiently work with the tool and create amazing projects.
At the very top level you will notice the following files and directories:
- README.md – This is the standard readme file describing the application
- package.json – This is the standard npm configuration file describing your application. This is used primarily for the dependencies to be installed correctly.
- ember-cli-build.js – This is the configuration for the Ember CLI tool to power our build
- testem.js – This is the configuration for the test framework. This allows you to define, amongst other things, the browsers that should be used to run the tests in for different environments.
- app/ – This is the actual application logic. A lot happens in here that will be covered below.
- config/ – This is the configuration for the application
- config/targets.js – This is a list of browsers to support. This is used by Babel to ensure that the Javascript is transpiled in such a way that they will all work.
- config/environment.js – This is the main configuration for your application. Anything that is needed for the application, but that might vary from one environment to another, should be put in here.
- public/ – This is any static resources that you wish to include in your application. For example, images and fonts.
- vendor/ – This is where any frontend dependencies that are not managed by the build system go
- tests/ – This is where all of the tests go
- tests/unit – This is all of the unit tests for the application
- tests/integration – This is all of the integration tests for the application
Overall Page Structure (Including Third-Party Content)
Before we get too far ahead, let’s give our page some form of structure. In this case, we are going to add in the Materialize CSS framework to give it a better look and feel.
Adding in support for third-party content like this can be done in a number of ways:
- Linking directly to the content on an external service, like a CDN
- Using a package manager like npm or Bower to install it for us
- Including it directly in our application.
- Use of an Ember Addon if one is provided
Unfortunately, the addon for Materialize doesn’t yet work with the latest version of Ember.js so, instead, we are simply going to link to the CDN resources from our main page. In order to achieve this, we are going to update app/index.html, which is the main page structure into which our application is rendered. We’re going to simply add the CDN links for jQuery, Google Icon Font, and Materialize.
<!-- Inside the Head section -->
    <link href="https://fonts.googleapis.com/icon?family=Material+Icons" rel="stylesheet">
    <link rel="stylesheet" href="https://cdnjs.cloudflare.com/ajax/libs/materialize/0.100.1/css/materialize.min.css">

<!-- Inside the Body section -->
    <script type="text/javascript" src="https://code.jquery.com/jquery-3.2.1.min.js"></script>
    <script src="https://cdnjs.cloudflare.com/ajax/libs/materialize/0.100.1/js/materialize.min.js"></script>
Now we can update the main page to show our core template. This is done by editing app/templates/application.hbs to look like this:
<nav>
<div class="nav-wrapper">
<a href="#" class="brand-logo">
<i class="material-icons">filter_6</i>
Dice Roller
</a>
<ul id="nav-mobile" class="right hide-on-med-and-down">
</ul>
</div>
</nav>
<div class="container">
</div>
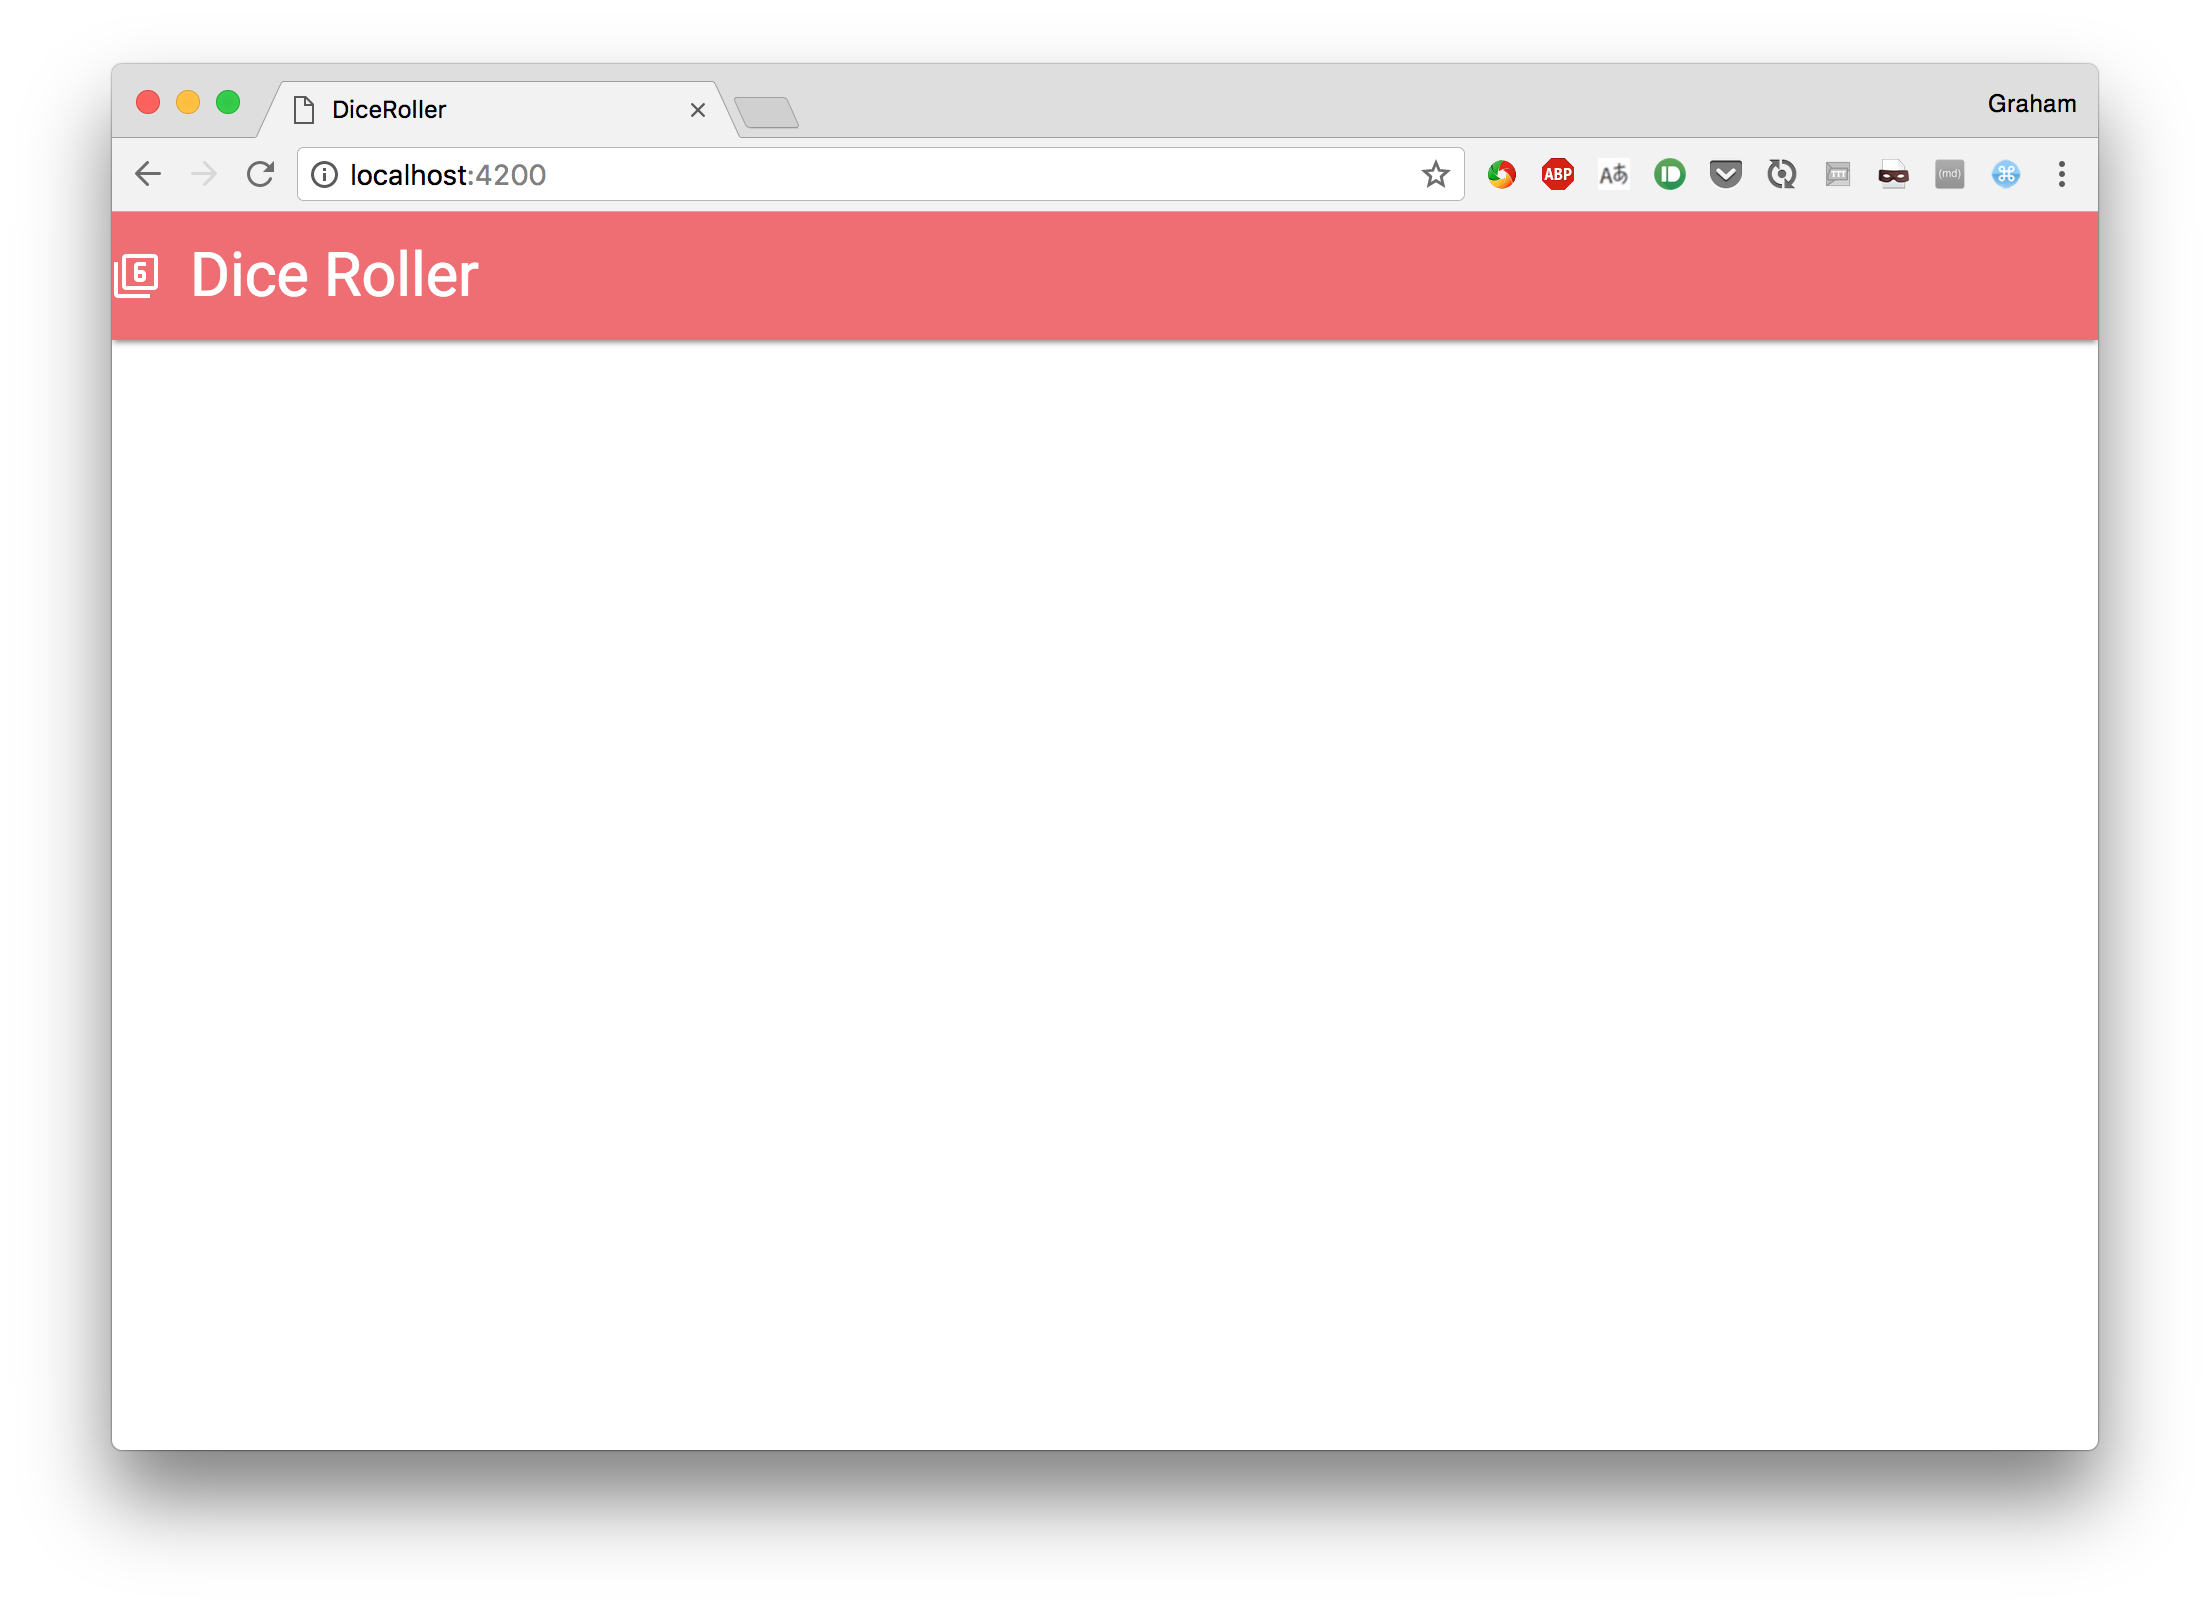
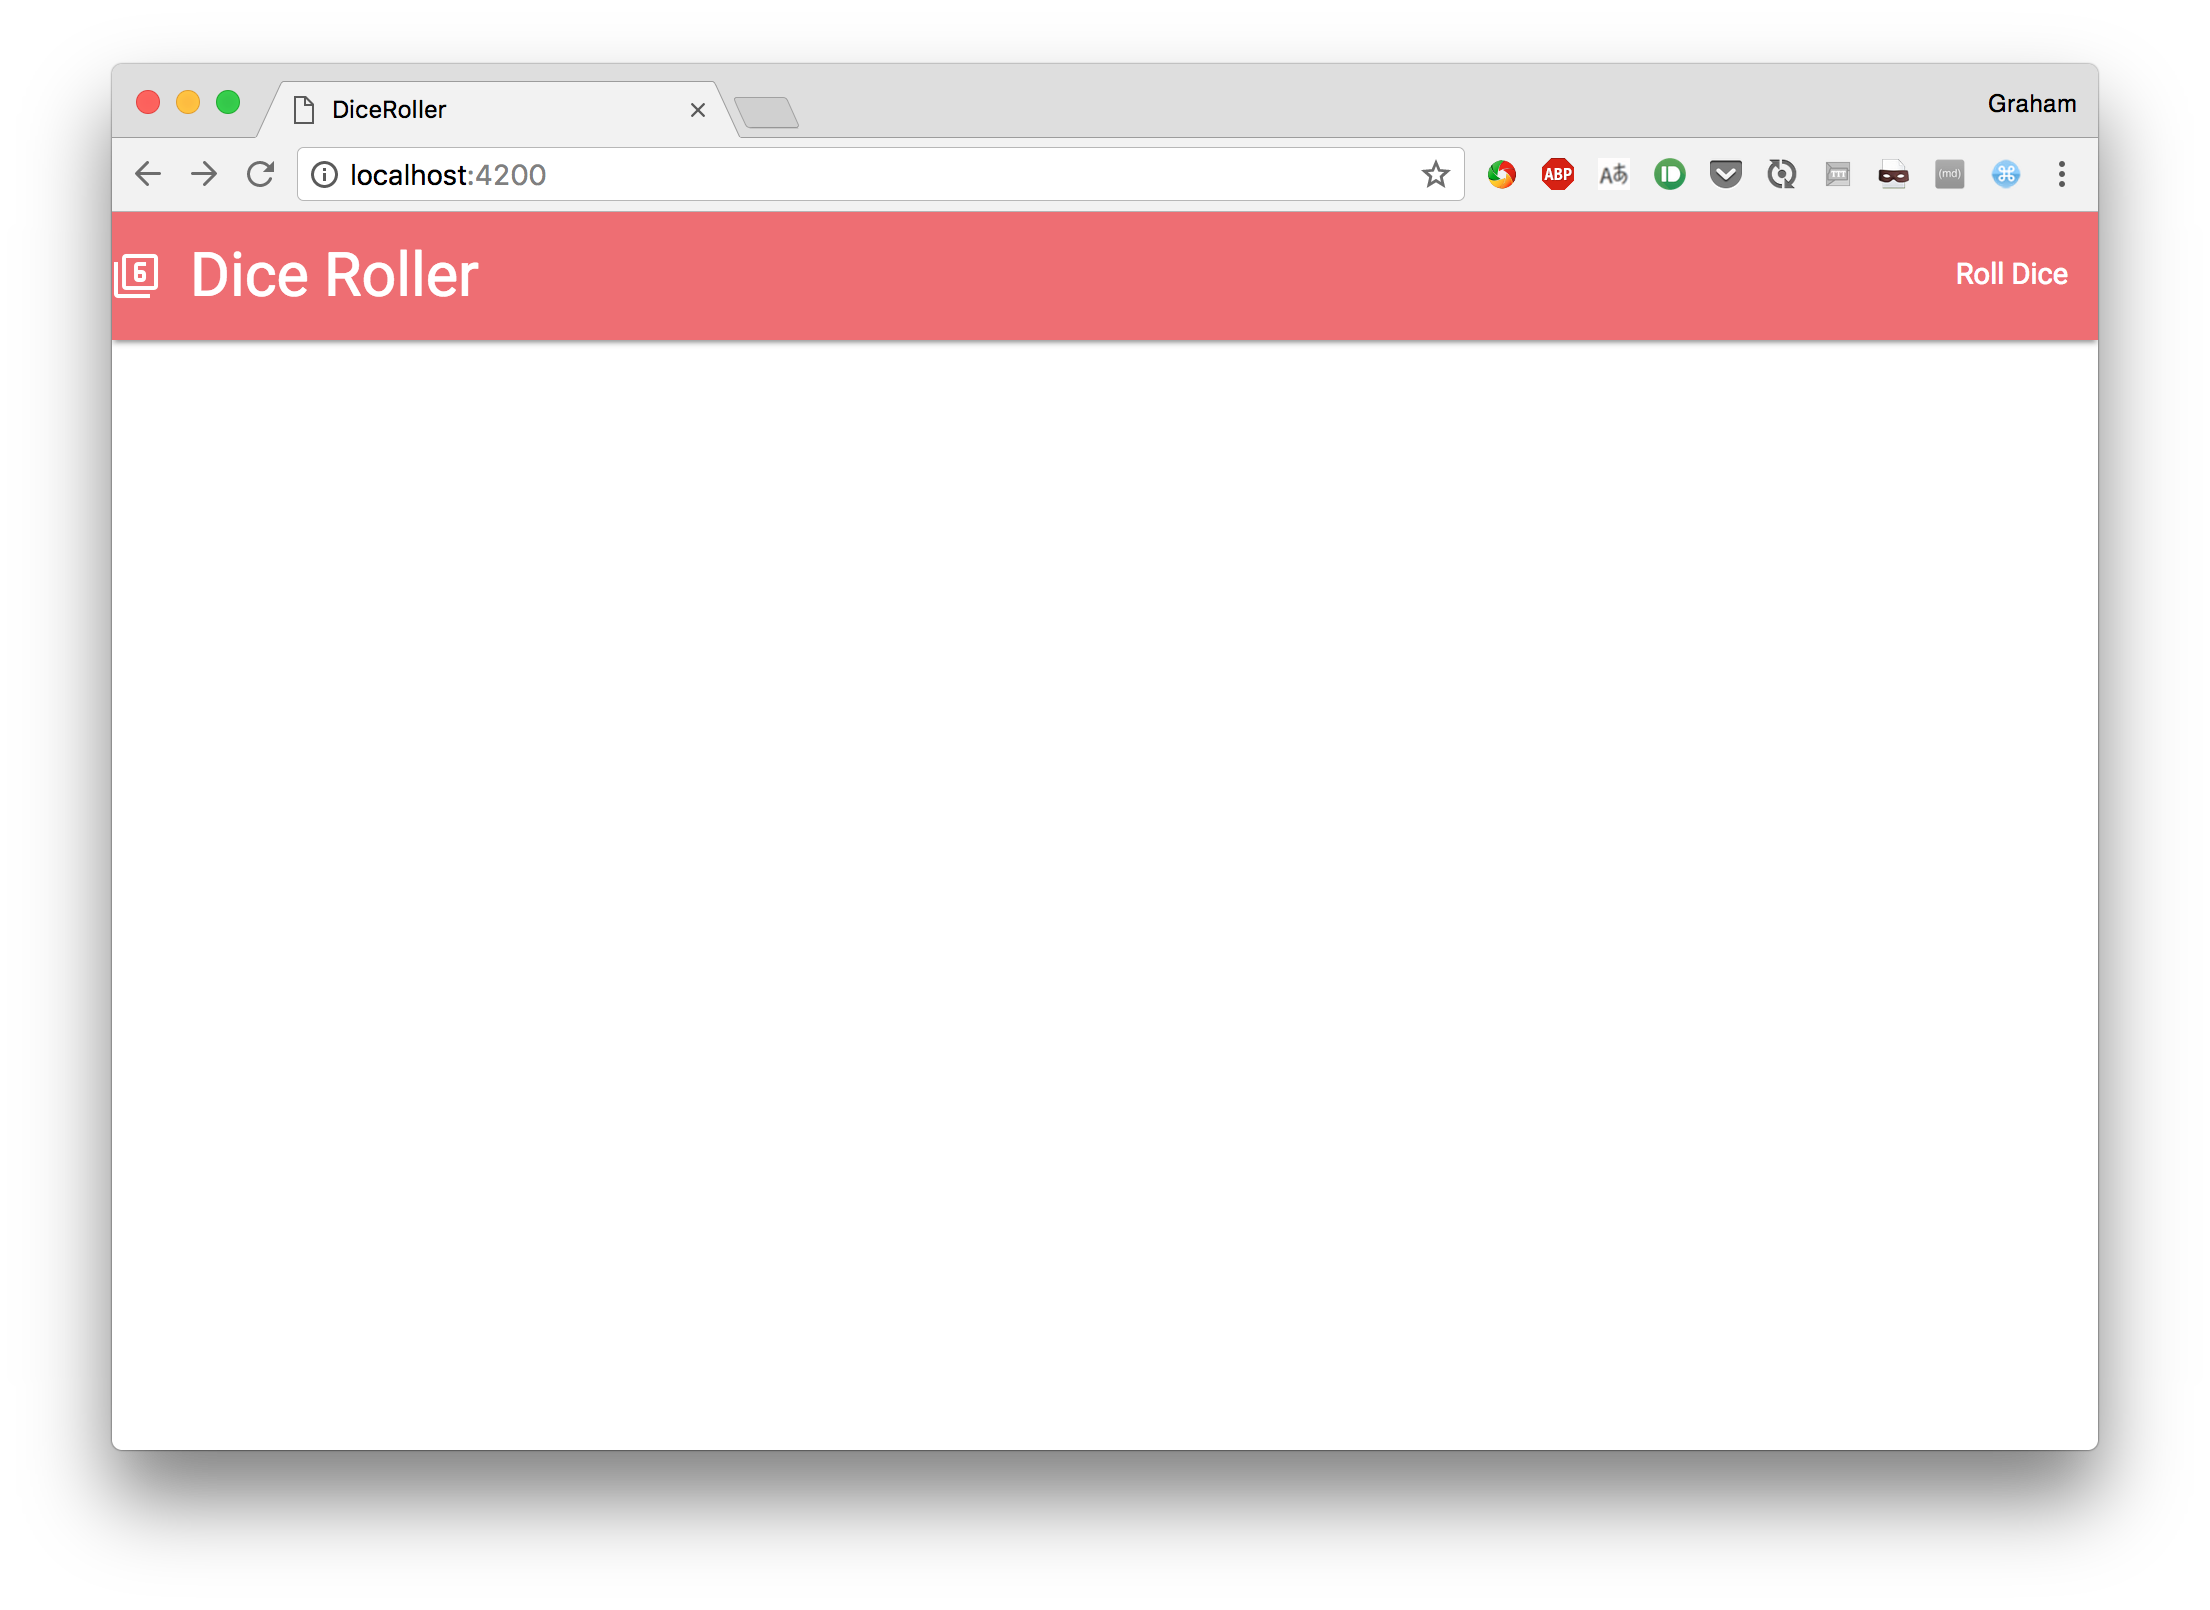
This gives us a Materialize Nav at the top of the screen, with a container containing that {{outlet}} tag mentioned earlier.
This then looks like this when visited in your browser:
So what is this outlet tag? Ember works based off of routes, where each route is considered a child of some other route. The top-most route is handled by Ember automatically, and renders the template app/templates/application.hbs.
The outlet tag specifies where Ember will render the next route in the current hierarchy – so the first level route is rendered into this tag in application.hbs, the second level route is rendered into this tag in that first level template, and so on.
Creating a New Route
In an Ember.js application, every page that can be visited is accessed via a Route. There is a direct mapping between the URL that the browser opens and the route that the application renders.
The easiest way to see this is by example. Let’s add a new route to our application allowing the user to actually roll some dice. Once again, this is done using the ember-cli tool.
$ ember generate route roll
installing route
  create app/routes/roll.js
  create app/templates/roll.hbs
updating router
  add route roll
installing route-test
  create tests/unit/routes/roll-test.js
What this one command has given us is:
- A handler for the route –
app/routes/roll.js - A template for the route –
app/templates/roll.hbs - A test for the route –
tests/unit/routes/roll-test.js - Updated the router configuration to know about this new route –
app/router.js
Let’s see this in action. For now, we’re going to have a very simple page allowing us to roll a number of dice. To do so, update app/templates/roll.hbs as follows:
<div class="row">
<form class="col s12">
<div class="row">
<div class="input-field col s12">
<input placeholder="Name" id="roll_name" type="text" class="validate">
<label for="roll_name">Name of Roll</label>
</div>
</div>
<div class="row">
<div class="input-field col s6">
<input placeholder="Number of dice" id="number_of_dice" type="number" class="validate" value="1">
<label for="number_of_dice">Number of Dice</label>
</div>
<div class="input-field col s6">
<input placeholder="Number of sides" id="number_of_sides" type="number" class="validate" value="6">
<label for="number_of_sides">Number of Sides</label>
</div>
</div>
<div class="row">
<button class="btn waves-effect waves-light" type="submit" name="action">
Roll Dice
<i class="material-icons right">send</i>
</button>
</div>
</form>
</div>
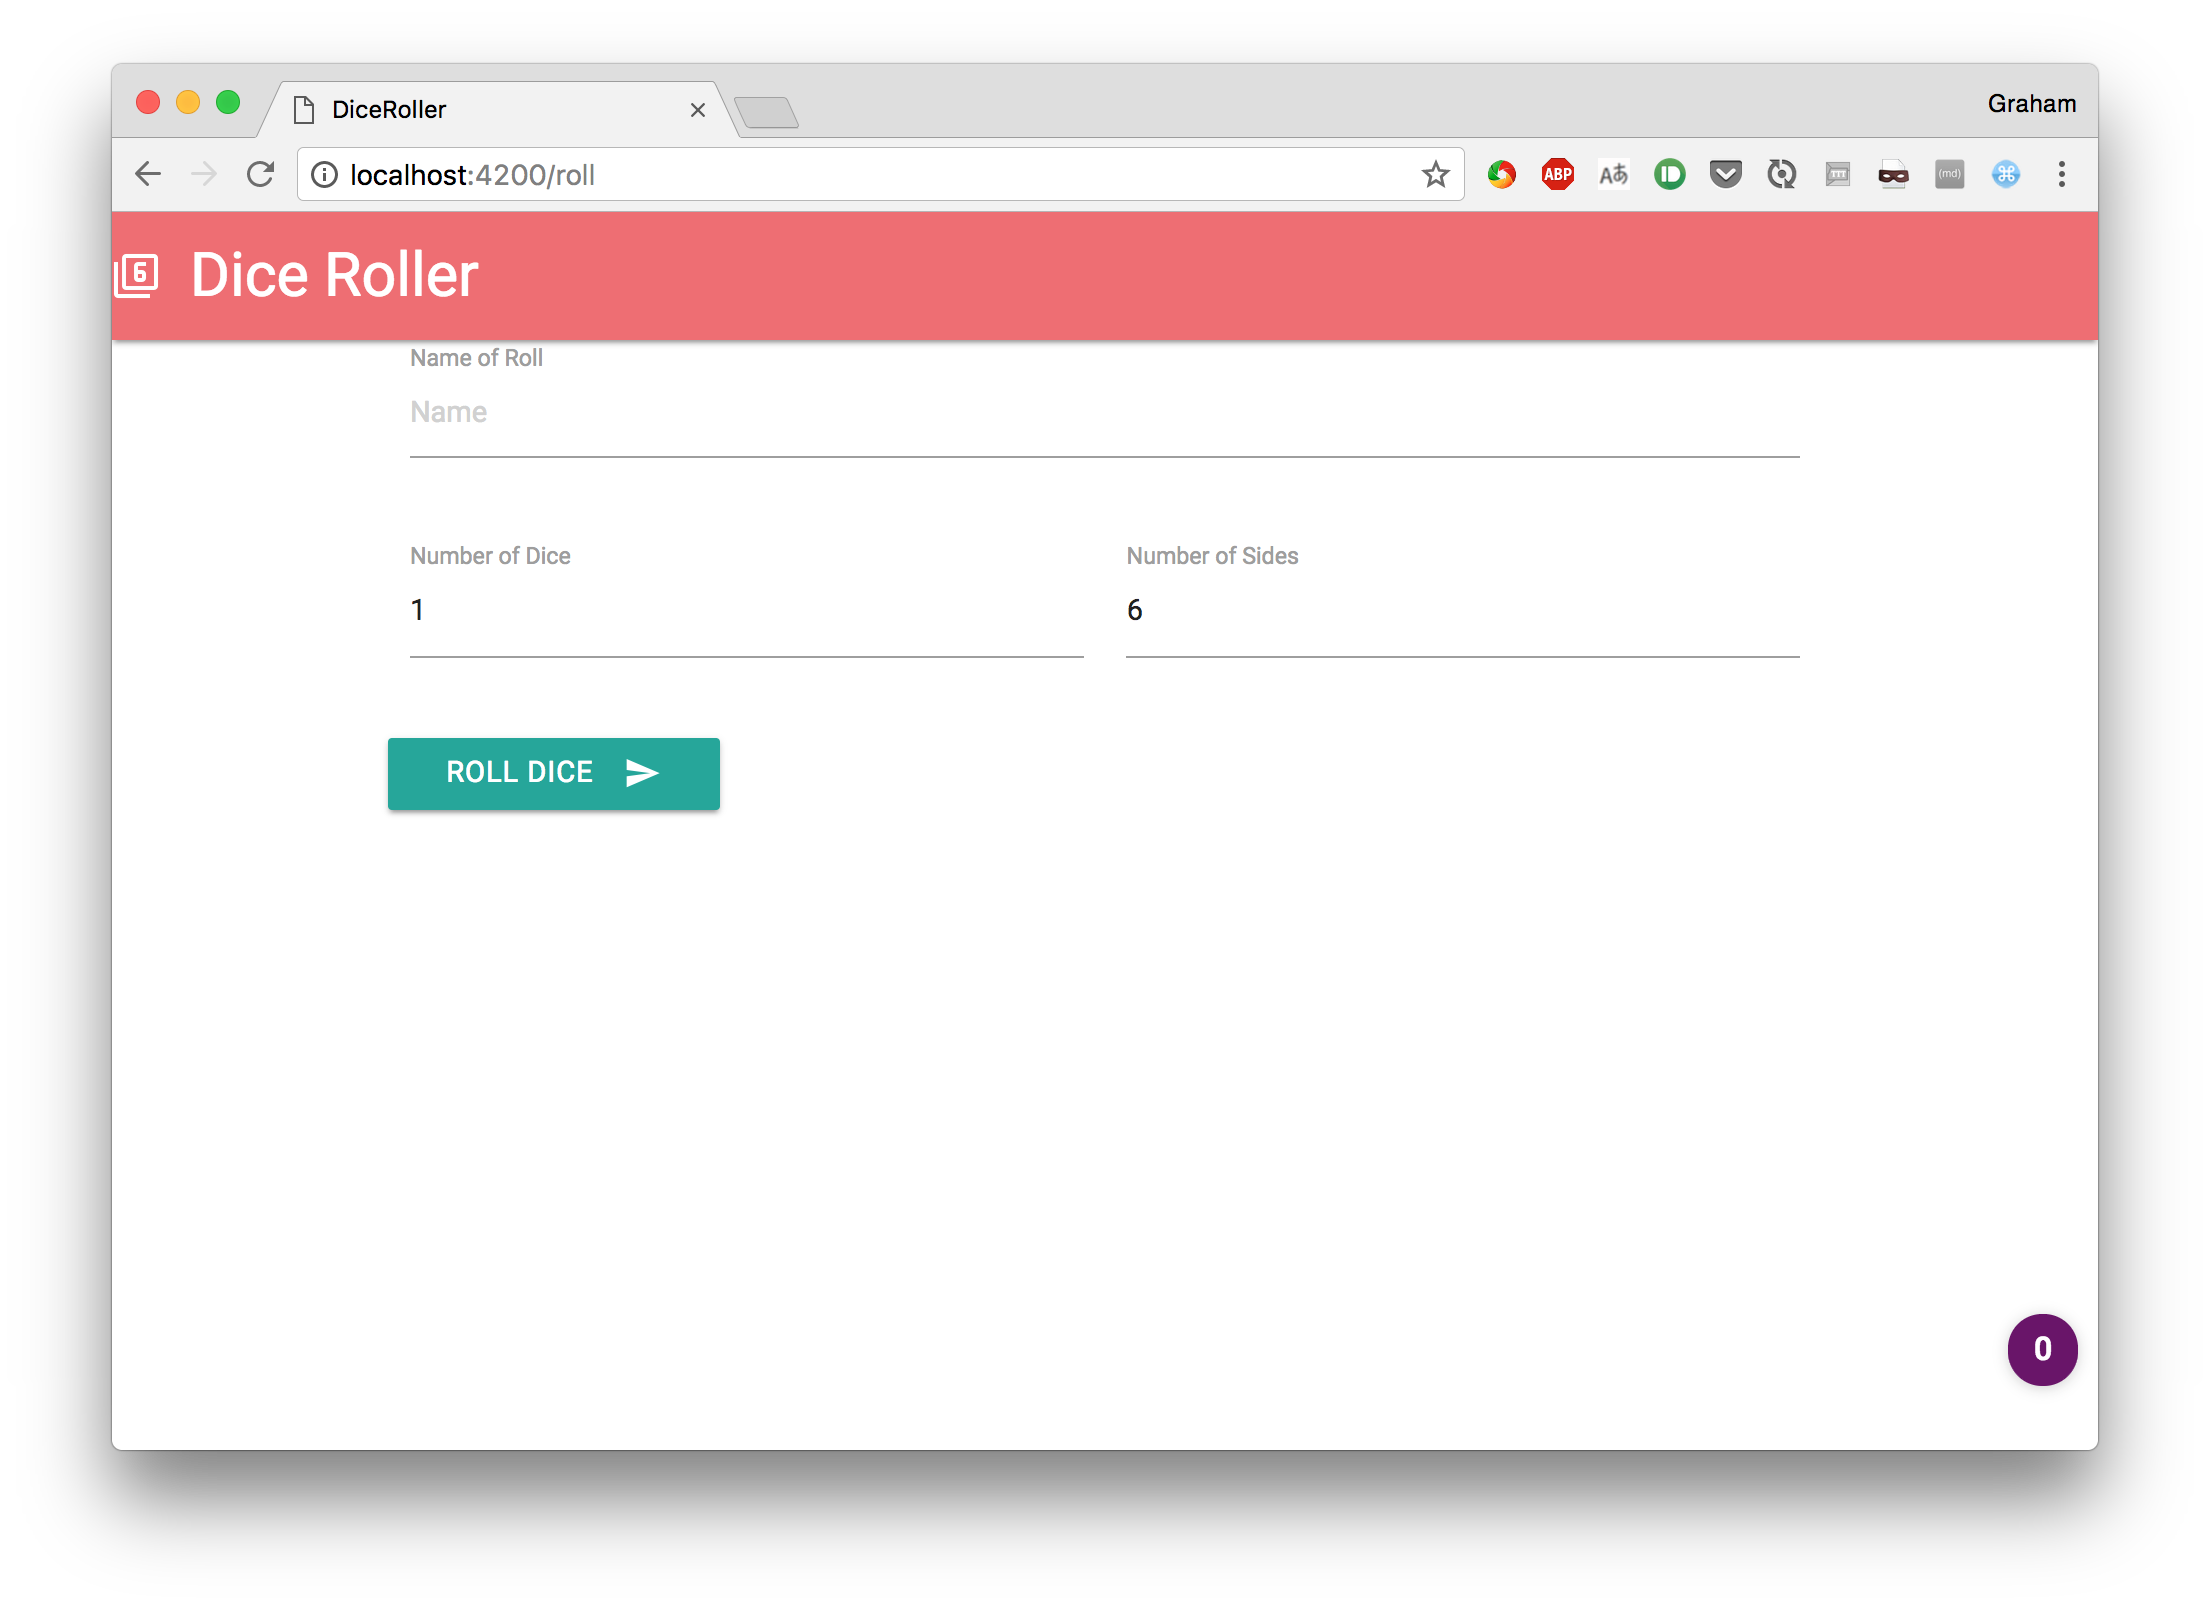
Then visit http://localhost:4200/roll and see the result:
Now we need to be able to get here. Ember makes this very simple to achieve by use of the link-to tag. This takes (among other things) the name of the route that we are sending the user to and then renders markup to get the user there.
For our case, we will be updating app/templates/application.hbs to contain the following:
<ul id="nav-mobile" class="right hide-on-med-and-down">
    {{#link-to 'roll' tagName="li"}}
        <a href="roll">Roll Dice</a>
    {{/link-to}}
</ul>
Which makes our header bar look as follows:
This new link then takes the user to the “/roll” route that we’ve just set up, exactly as desired.
Creating Modular Components
If you actually test the application so far you will notice one problem. Opening the home page and visiting the “/roll” link works, but the labels on the form don’t line up properly. This is because Materialize needs to trigger some JavaScript to sort things out, but the dynamic routing means that the page isn’t being reloaded. We will need to help out a bit here.
Enter components. Components are pieces of UI that have a full lifecycle and can be interacted with. They are also the way that you will create reusable UI elements if you need to do so – we will see this later.
For now, we are going to create a single component representing the Roll Dice form. As always, generating the component is done with our ember-cli tool, as follows:
$ ember generate component roll-dice
installing component
  create app/components/roll-dice.js
  create app/templates/components/roll-dice.hbs
installing component-test
  create tests/integration/components/roll-dice-test.js
This has given us:
- app/components/roll-dice.js – The code that powers the component
- app/templates/components/roll-dice.hbs – The template that controls how it will look
- tests/integration/components/roll-dice-test.js – A test to ensure the component works correctly
We’re going to move all of our markup into the component now – which will do nothing to the way the application works directly but makes it easy for us to do so in a bit.
Update app/templates/components/roll-dice.hbs to read as follows:
<form class="col s12">
    <div class="row">
        <div class="input-field col s12">
            <input placeholder="Name" id="roll_name" type="text" class="validate">
            <label for="roll_name">Name of Roll</label>
        </div>
    </div>
    <div class="row">
        <div class="input-field col s6">
            <input placeholder="Number of dice" id="number_of_dice" type="number" class="validate" value="1">
            <label for="number_of_dice">Number of Dice</label>
        </div>
        <div class="input-field col s6">
            <input placeholder="Number of sides" id="number_of_sides" type="number" class="validate" value="6">
            <label for="number_of_sides">Number of Sides</label>
        </div>
    </div>
    <div class="row">
        <button class="btn waves-effect waves-light" type="submit" name="action">
            Roll Dice
            <i class="material-icons right">send</i>
        </button>
    </div>
</form>
And then update app/templates/roll.hbs as follows:
<div class="row">
</div>
The template for our component is exactly the markup that we previously had in our route, and our route is significantly simpler now. The roll-dice tag is what tells Ember to render our component in the right place.
If we were to run this now we would see no functional difference at all, but our code is slightly more modular this way. We’re going to take advantage of the component to fix our rendering glitch and to add some functionality to our system.
The component lifecycle
Ember components have a defined lifecycle that they follow, with a number of hooks that can be triggered at different stages. We are going to make use of the didRender hook which is called after the component is rendered – either for the first time or any subsequent times – to ask Materialize to update the labels on the text fields.
This is done by updating the code behind the component, found inside app/components/roll-dice.js, to look like this:
/* global Materialize:false */
import Ember from 'ember';

export default Ember.Component.extend({
    didRender() {
        Materialize.updateTextFields();
    }
});
Now, every time you visit the “/roll” route – whether it’s by deep linking to it or by using our header link – this code is run and Materialize will update the labels to flow correctly.
Data binding
We also want to be able to get data in and out of our UI via our component. This is remarkably easy to achieve but, surprisingly, the Ember guide doesn’t cover it, so it looks harder than it should be.
Every piece of data that we want to interact with exists on the Component class as it’s own field. We then use some helpers to render our input fields on our component that do the work of binding these input fields to the component variables, so that we can interact with them directly without ever needing to be concerned with the DOM activities.
In this case, we have three fields so we need to add the following three lines to app/components/roll-dice.js, just inside the component definition:
    rollName: '',
    numberOfDice: 1,
    numberOfSides: 6,
Then we update our template to render using the helpers instead of directly rendering HTML markup. To do this, replace the <input> tags as follows:
<div class="row">
    <div class="input-field col s12">
        <!-- This replaces the <input> tag for "roll_name" -->
        {{input placeholder="Name" id="roll_name" class="validate" value=(mut rollName)}}
        <label for="roll_name">Name of Roll</label>
    </div>
</div>
<div class="row">
    <div class="input-field col s6">
        <!-- This replaces the <input> tag for "number_of_dice" -->
        {{input placeholder="Number of dice" id="number_of_dice" type="number" class="validate" value=(mut numberOfDice)}}
        <label for="number_of_dice">Number of Dice</label>
    </div>
    <div class="input-field col s6">
        <!-- This replaces the <input> tag for "number_of_sides" -->
        {{input placeholder="Number of sides" id="number_of_sides" type="number" class="validate" value=(mut numberOfSides)}}
        <label for="number_of_sides">Number of Sides</label>
    </div>
</div>
Note that the value attribute has a slightly odd-looking syntax. This syntax can be used for any attribute on the tag, not only value. There are three ways that this can be used:
- As a quoted string – the value is used as-is
- As an unquoted string – the value is populated from this piece of data on the component, but the component is never updated
- As
(mut <name>)– the value is populated from this piece of data on the component, and the component is mutated when the value changes in the browser
All of the above means that we can now access those three fields we defined in our component as if they were the values of our input boxes, and Ember ensures that everything works correctly like that.
Component actions
The next thing we want to do is interact with the component. Specifically, it would be good to handle when our “Roll Dice” button is clicked. Ember handles this with Actions – which are pieces of code in your component that can be hooked into your template. Actions are simply defined as functions in our component class, inside a special field called actions, which implement our desired functionality.
For now, we are simply going to tell the user what they want to do, but not actually do anything – that comes next. This will use an On Submit action on the form itself, which means that it gets triggered if they click on the button or they press enter in one of the fields.
Our actions code block inside of app/components/roll-dice.hbs is going to look like this:
    actions: {
        triggerRoll() {
            alert(`Rolling ${this.numberOfDice}D${this.numberOfSides} as "${this.rollName}"`);
            return false;
        }
    }
We return false to prevent event bubbling. This is fairly standard behavior in HTML applications and is essential in this case to stop the form submission from reloading the page.
You will note that we refer to our fields that we previously defined for accessing the input fields. There is no DOM access at all here – it’s all just interacting with JavaScript variables.
Now we just need to wire this up. In our template, we need to tell the form tag that it needs to trigger this action when the onsubmit event is triggered. This is just adding a single attribute to the form tag using an Ember helper to wire it up to our action. This looks as follows inside app/templates/components/roll-dice.hbs:
<form class="col s12" onsubmit={{action 'triggerRoll'}}>
We can now click on the button, having filled out our form, and get a alert popup telling us what we’ve done.

Managing Data Between Client and Server
The next thing we want to do is actually roll some dice. This is going to involve some communication with the server – since the server is responsible for rolling the dice and remembering the results.
Our desired flow here is:
- Users specifies the dice they wish to roll
- User presses the “Roll Dice” button
- Browser sends the details to the server
- Server rolls the dice, remembers the result, and sends the results back to the client
- Browser displays the results of rolling the dice
Sounds simple enough. And, of course, with Ember it really is.
Ember handles this using an inbuilt concept of a Store populated with Models. The Store is the single source of knowledge throughout the entire application, and each Model is a single piece of information in the store. Models all know how to persist themselves to the backend, and the Store knows how to create and access Models.
Passing Control from Components to Routes
Throughout our application, it is important to keep the encapsulation correct. Routes (and controllers, which we haven’t covered) have access to the store. Components do not.
This is because the route represents a specific piece of functionality in your application, whereas the component represents a small piece of UI. In order to work with this, the component has the ability to send a signal up the hierarchy that some action has happened – in a very similar way that our DOM components could signal to our component that something has happened.
Firstly then, let’s move our logic for displaying the alert box into the route instead of the component. In order to do this, we need to change the following areas of code:
In the logic behind our route – app/routes/roll.js – we need to add the following block to register the action that we are going to perform.
actions: {
    saveRoll: function(rollName, numberOfDice, numberOfSides) {
        alert(`Rolling ${numberOfDice}D${numberOfSides} as "${rollName}"`);
    }
}
In the logic behind our component – app/components/roll-dice.js – we need to trigger an action on our component when we ourselves are triggered. This is done using the sendAction mechanism inside our preexisting action handler.
triggerRoll() {
    this.sendAction('roll', this.rollName, this.numberOfDice, this.numberOfSides);
    return false;
}
And finally, we need to wire the action up. This is done in the template for the route – app/templates/roll.hbs – by changing the way that our component is rendered:
{{roll-dice roll="saveRoll" }}
This tells the component that the property roll is linked to the action saveRoll inside our route. This name roll is then used inside our component to indicate to the caller that a dice roll has been done. This name makes sense to our component – because it knows that it is requesting a dice roll to be performed, but doesn’t care how the other code does so or what it will do with the information.
Again, running this will cause no functional difference in our application, but just means that the pieces are all in the right place.
Persisting to the Store
Before we are able to persist data into our store, we need to define a model to represent it. This is done by using our trusty ember-cli tool again to create the structure and then populating it.
To create the model class we execute:
$ ember generate model roll
installing model
  create app/models/roll.js
installing model-test
  create tests/unit/models/roll-test.js
Then we tell our model about the attributes it needs to understand. This is done by modifying app/models/roll.js to look like the following:
import DS from 'ember-data';

export default DS.Model.extend({
    rollName: DS.attr('string'),
    numberOfDice: DS.attr('number'),
    numberOfSides: DS.attr('number'),
    result: DS.attr('number')
});
The DS.attr calls define a new attribute of the specified type – called a Transform in Ember. The default options here are “string”, “number”, “date” and “boolean”, though you can define your own if necessary.
Now we can actually use this to create or roll. This is done by accessing the store from our action we now have in app/routes/roll.js:
saveRoll: function(rollName, numberOfDice, numberOfSides) {
    let result = 0;
    for (let i = 0; i < numberOfDice; ++i) {
        result += 1 + (parseInt(Math.random() * numberOfSides));
    }

    const store = this.get('store');
    // This requests that the store give us an instance of our "roll" model with the given data
    const roll = store.createRecord('roll', {
        rollName,
        numberOfDice,
        numberOfSides,
        result
    });
    // This tells our model to save itself to our backend
    roll.save();
}
If we try this out, we will now see that pressing our Roll Dice button causes a network call to be made to our server. This fails, because our server isn’t yet expecting it, but it’s progress.

We’re not focusing on the backend here, so we’re going to concern ourselves with this. If you need to develop an Ember application without a backend at all then there are options – such as the ember-localstorage-adapter that will work entirely within the browser. Alternatively, you simply need to write the appropriate server and ensure that the server and client are hosted correctly and it will all work.
Loading from the Store
Now that we’ve got some data into our store, we need to get it back out again. At the same time, we’re going to write an index route – the one that is used when you access the home page.
Ember implicitly has a route called index that is used to render the initial page of the application. If the files for this route do not exist then no error is raised but, instead, nothing is rendered. We are going to use this route to render all of the historical rolls from our store.
Because the index route already implicitly exists, there is no need to use the ember-cli tool – we can directly create the files and it is already wired up.
Our route handler will go into app/routes/index.js and will look as follows:
import Ember from 'ember';

export default Ember.Route.extend({
    model() {
        return this.get('store').findAll('roll');
    }
});
Here, our route has direct access to the store and can use the findAll method to load every roll that has been persisted. We then provide these to the template by use of the model method.
Our template will then go into app/templates/index.hbs as follows:
<table>
    <thead>
        <tr>
            <th>Name</th>
            <th>Dice Rolled</th>
            <th>Result</th>
        </tr>
    </thead>
    <tbody>
    {{#each model as |roll|}}
        <tr>
            <td>{{roll.rollName}}</td>
            <td>{{roll.numberOfDice}}D{{roll.numberOfSides}}</td>
            <td>{{roll.result}}</td>
        </tr>
    {{/each}}
    </tbody>
</table>


{{outlet}}
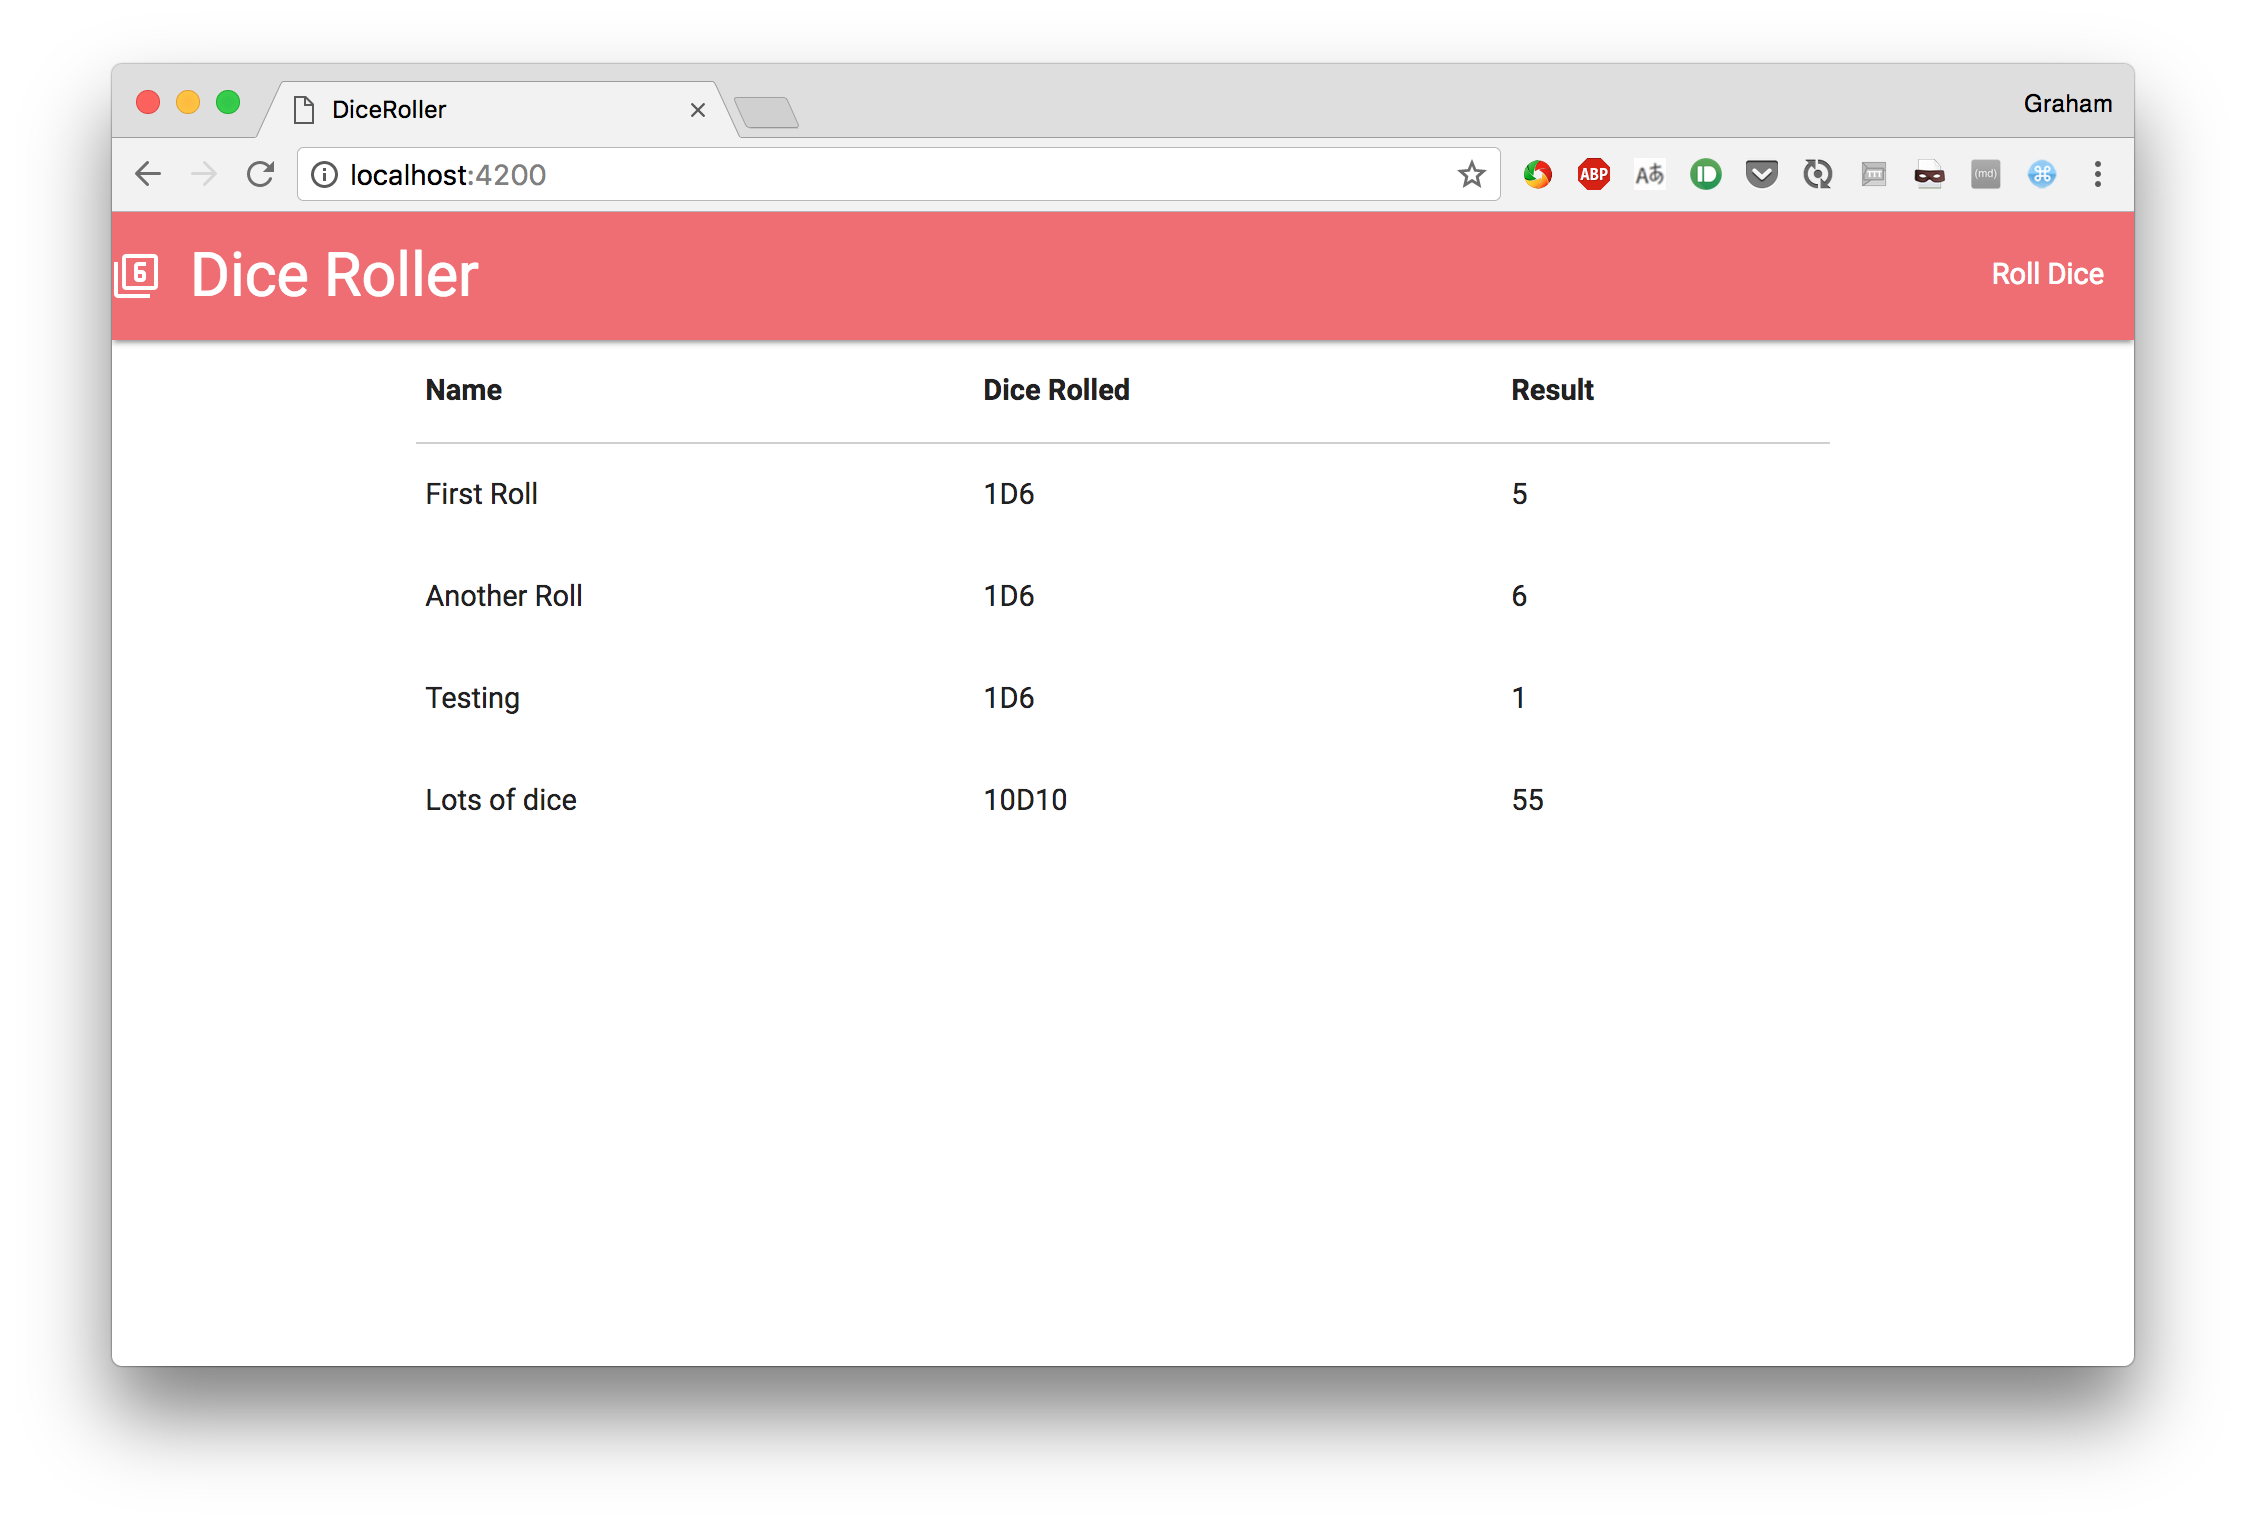
This can access the model from the route directly, and then iterates over it to produce the table rows. This will then look as follows:
Summary
At this point, after relatively little work, we have developed an application that will allow us to roll dice and see a history of all rolls. This includes data binding from our form, persisting data into a store, and reading it back out, templating support to display all of the pages, and full URL routing throughout. This application can be developed from scratch in under an hour.
Using Ember can greatly improve the efficiency with which you develop your frontend. Unlike libraries such as React, Ember gives you the entire suite of functionality necessary to build a fully functional application without needing any extra tools. The addition of the ember-cli and the out-of-the-box setup then takes this to the next level, making the process incredibly simple and painless from beginning to end. Coupled with the community support there is almost nothing that can’t be achieved.
Unfortunately, it can be difficult to slot Ember into an existing project. It works best when starting a new project. Fitting it into an existing one can be difficult or impossible. Ember also works out of the box with a very specific way of working with backends, and if your existing backend does not comply with this then you could end up spending a lot of time and effort either re-working the backend or finding/writing plugins to talk to the existing one.
Ember has a lot of power and can allow you to very quickly create full-featured application frontends. It does impose a lot of structure on how you must design your code, but this is often less restrictive than it first seems since this structure is necessary anyway.
Frequently Asked Questions (FAQs) about Ember.js
What are the key features of Ember.js that make it a perfect framework for web applications?
Ember.js is a JavaScript framework that is designed to help developers build scalable single-page web applications. It offers several key features that make it a perfect choice for web applications. Firstly, it follows the convention over configuration principle, which means it provides a set of sensible defaults that allow developers to focus on writing their application rather than setting up the environment. Secondly, it has a robust routing system that makes it easy to manage application state. Thirdly, it supports two-way data binding, which ensures that the UI stays in sync with the underlying data. Lastly, it has a strong emphasis on web standards and future-proofing, which means it’s designed to work well with upcoming web technologies.
How does Ember.js compare to other JavaScript frameworks like Angular and React?
Ember.js, Angular, and React are all popular JavaScript frameworks, but they each have their own strengths and weaknesses. Ember.js is known for its convention over configuration approach, which can speed up development time but may be less flexible than other frameworks. Angular is a comprehensive framework that includes everything you need to build a complex application, but it has a steep learning curve. React is known for its simplicity and flexibility, but it’s more of a library than a full-fledged framework, so you may need to add additional libraries to build a complete application.
Can Ember.js be used with a Node.js backend?
Yes, Ember.js can be used with a Node.js backend. In fact, Ember.js and Node.js are often used together in a full-stack JavaScript environment. Ember.js handles the frontend, providing a rich, interactive user interface, while Node.js handles the backend, serving data to the Ember.js application through an API.
How can I connect Ember.js with a Django backend?
Connecting Ember.js with a Django backend involves setting up Django to serve data to the Ember.js application through an API. This can be done using Django’s built-in REST framework, which allows you to create API endpoints that the Ember.js application can interact with. Once the API is set up, you can use Ember.js’s data library, Ember Data, to fetch data from the API and display it in your application.
Can Ember.js be used with a Java backend in Tomcat?
Yes, Ember.js can be used with a Java backend in Tomcat. The Java backend would serve data to the Ember.js application through an API, similar to how it would work with a Node.js or Django backend. The Ember.js application would then fetch data from the API using Ember Data and display it in the user interface.
What is the learning curve like for Ember.js?
Ember.js has a reputation for having a steep learning curve, especially for developers who are new to JavaScript frameworks. However, once you get the hang of its conventions and understand how its parts work together, it can be a very powerful tool for building web applications. Ember.js also has a strong community and a wealth of resources available, which can help ease the learning process.
How is data binding handled in Ember.js?
Ember.js supports two-way data binding, which means that changes in the underlying data are automatically reflected in the user interface, and vice versa. This is achieved through Ember.js’s computed properties and observers, which automatically update the UI when the data changes.
What is the future of Ember.js?
Ember.js has a strong focus on web standards and future-proofing, which means it’s designed to work well with upcoming web technologies. The Ember.js team is constantly working on updates and improvements to the framework, and there’s a strong community of developers who contribute to its development. So, while it’s impossible to predict the future with certainty, it’s safe to say that Ember.js will continue to be a relevant and useful tool for web developers.
How can I get started with Ember.js?
The best way to get started with Ember.js is to go through the official guides on the Ember.js website. These guides provide a comprehensive introduction to the framework, covering everything from setting up your environment to building your first application. There are also many tutorials and resources available online, both free and paid, that can help you learn Ember.js.
What kind of applications can I build with Ember.js?
Ember.js is a versatile framework that can be used to build a wide range of web applications. It’s particularly well-suited to single-page applications, where the entire application is loaded in a single HTML page and the user interacts with it without refreshing the page. This includes everything from simple static websites to complex dynamic applications like social networks or e-commerce sites.
 Graham Cox
Graham Cox is a Software Developer from the UK who has been writing software for almost 15 years, predominantly using Java and Javascript but also covering a wide variety of other languages.


